 |
| …High Pressure Pump bolted down… |
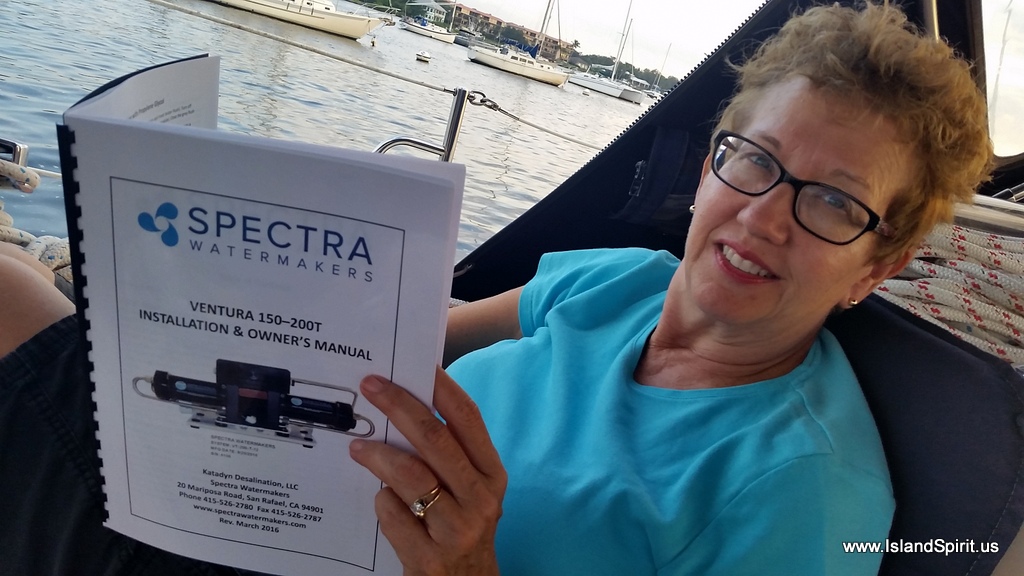
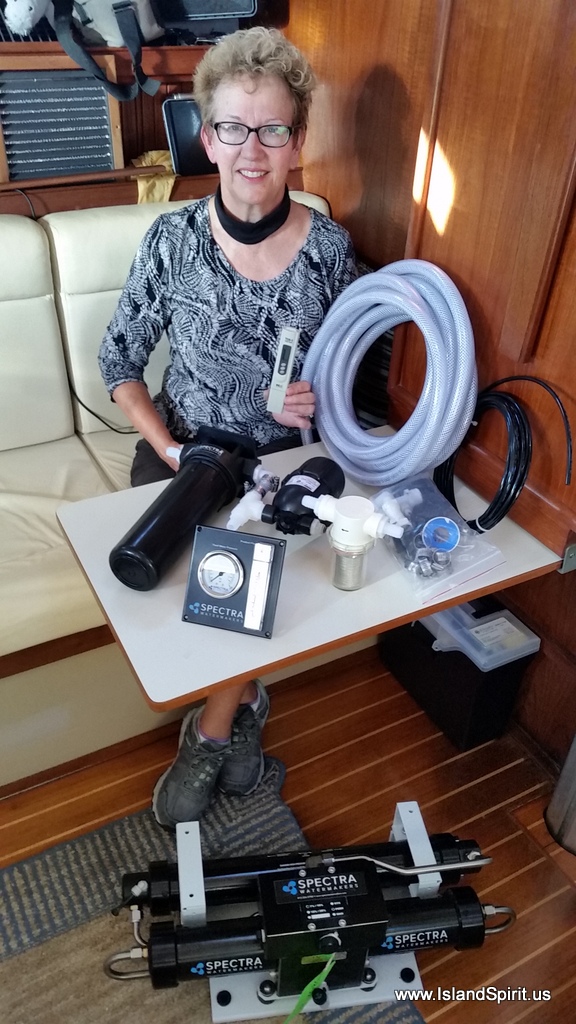
This is Day 3 of installing our new Spectra Ventura 200t watermaker and we are moving along well. Today we mounted the high pressure pump on the new platform and thru bolted it, making sure this 30 lb object will NOT go flying around when bashing into waves offshore. Once bolted down, we ran and connected the saltwater line from the new thru hull in the galley floor to the feed pump. From there, the saltwater line ran into the high pressure pump and back out to the overboard thru hull. These 3/4″ water hoses were far easier to run than expected. To get back into the galley floor thru hull, we followed the same path as our stern sea water wash down line. That line we never used, so we removed it and that gave us a chase to pull the new hose right behind the old hose as we pulled it out. Lucky for us, it already ran right past the new watermaker thru hull.
 |
| New watermaker thru hull and sea strainer in the galley floor. |
There we connected the saltwater line to a new sea strainer and our seawater feed was completed. Back in the sail locker, we ran the feed into the 5 micron filter and then into the 60 PSI pressure cylinder and finally into the Clark high pressure pump. Once this seawater goes into the high pressure pump, it is amplified to 800 psig where it is pushed through the reverse osmosis cylinder separating the salts and impurities into a brine discharge and diverting a small amount of fresh, safe water into our 90 gallon water tank.
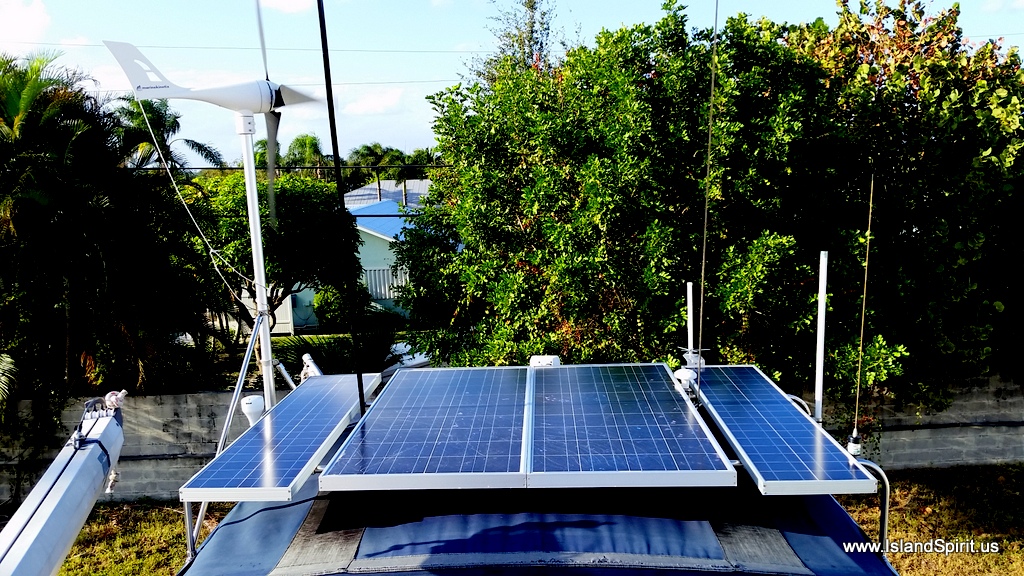
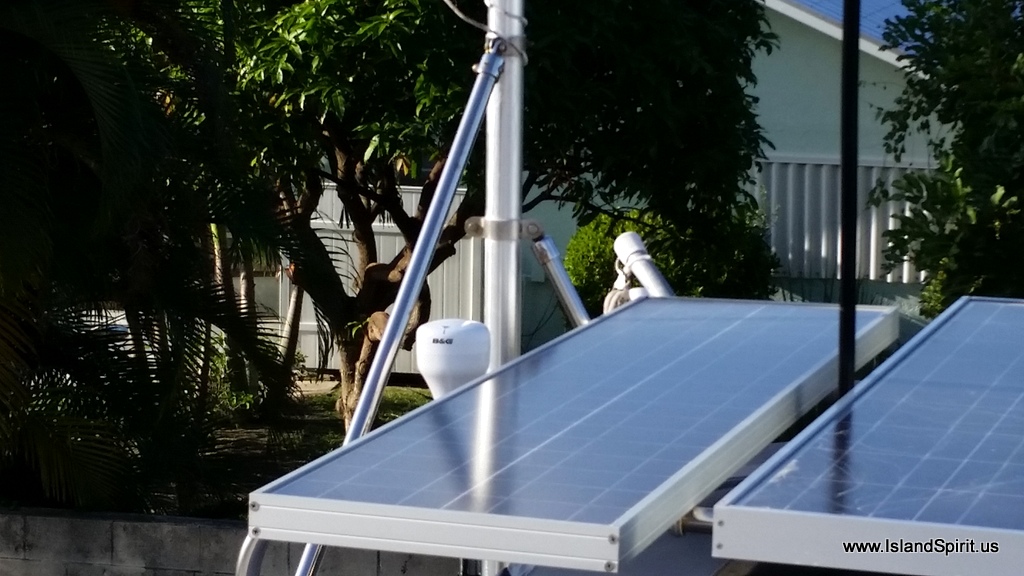
The product water outflow is rated at 8.3 gallons per hour while drawing only 8-9 amps of 12 volt DC power. If this is so, then we plan to run this system between noon and 1400 hours when we have extra 12 volt solar power and wind power. When the wind is blowing 15+ knots, we always have extra power, so is the reason we bought this system. Spectra is the most efficient watermaker made, hands down. If there is no solar or wind, then we can run our engine and power the watermaker from our 100 amp alternator. Our engine burns about 1/4 of a gallon per hour when charging. So, one quart of diesel will make 8 gallons of water for about 50 cents a gallom. Interesting.
 |
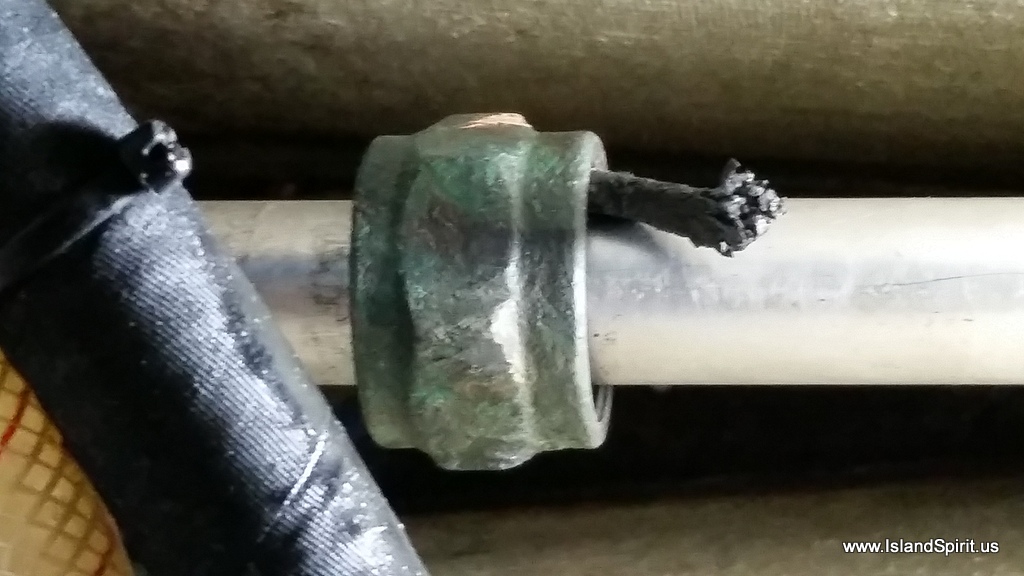
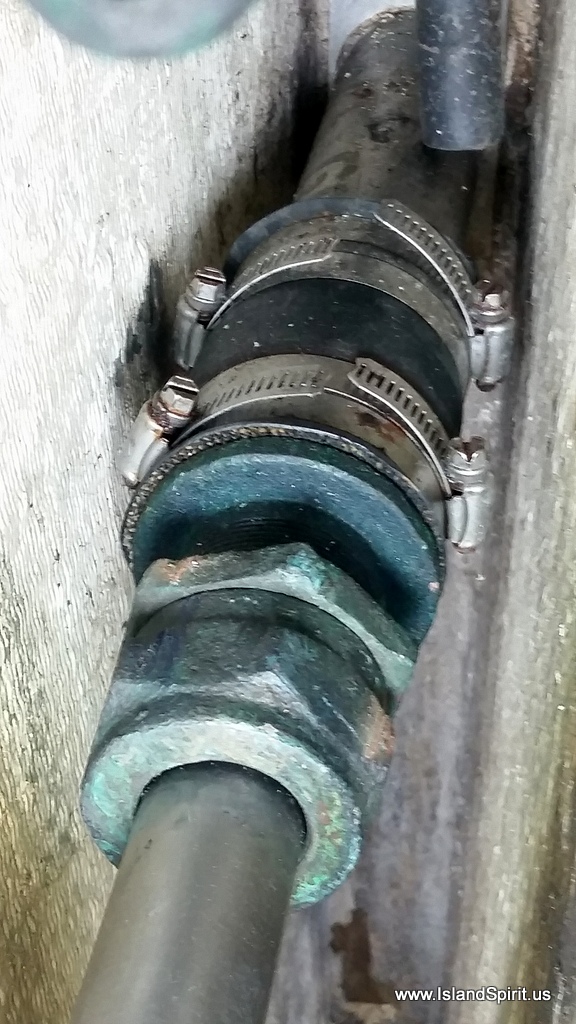
| The 3/4″ brine discharges to an existing above water thru hull |
Back to the plumbing….The brine must be routed to an overboard discharge. Lucky for us, we had a thru hull that is above the waterline that was used to drain a cockpit ice box. No one uses this as an ice box. We all use this to store cleaning supplies. The good aspect is that this ice box has a drain hose to a thru hull. So, we replaced this 1994 hose with a new hose and a tee allowing us to reconnect the ice box drain. The watermaker brine will discharge out this thru hull and the ice box will still drain if ever needed. Over all, this all worked out well.
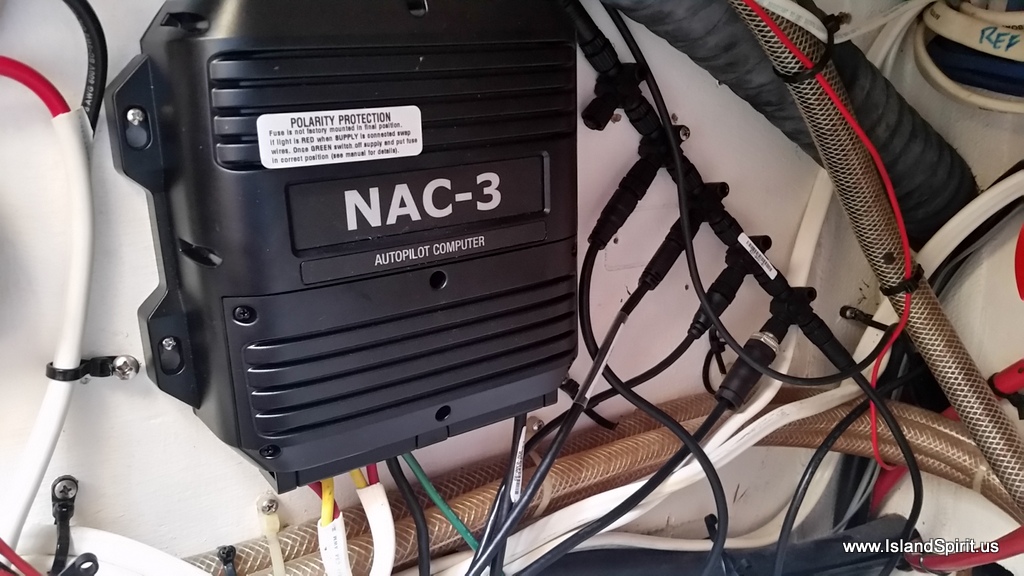
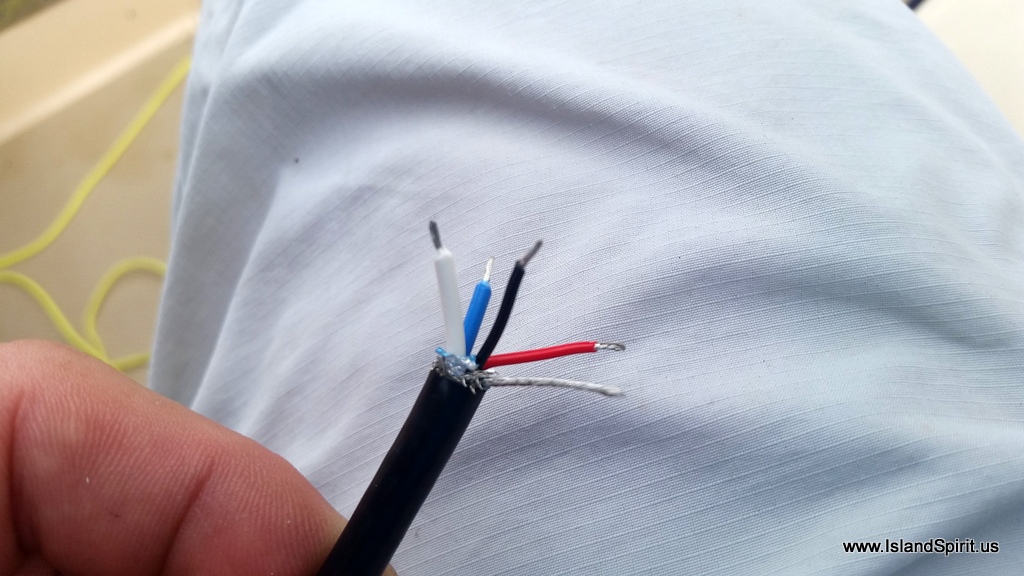
The next task will be to run the 1/4″ product water hose from the high pressure pump to the diverter valve for salinity testing and from the diverted valve to our water tank. Once that is finished, we will run the power line (a 6 AWG or 8 AWG) a very short distance (3 feet) from our nearby battery charger/inverter to the feed pump. We will add a breaker and then run to the pump. We understand that the system is very sensitive to voltage drops, so we will have it wired with heavy gauge wire and very short runs. Very soon, we will fire it up and test it out. (NOTE: Thanks goes out to Tom and Joyce of IP 40 BAREFOOT for the alert on the need for large power feed wires. We are following your advice.)
So, Day 3 of the Spectra Watermaker installation is finished. Here are more photos…..
 |
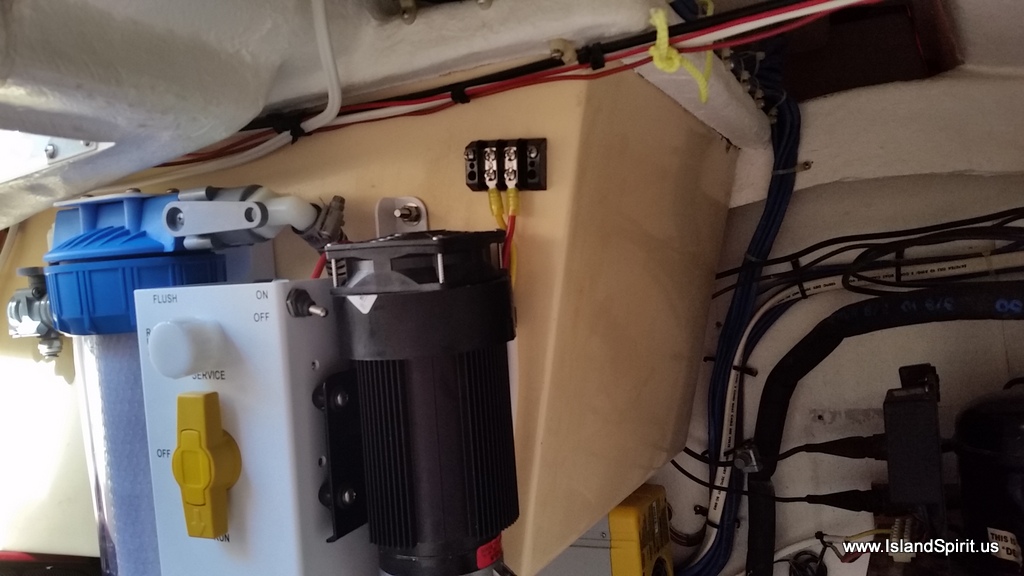
| The feed pump bolted to the cockpit ice box. Notice the 5 micron filter and pressure tank on the back of ice box. |
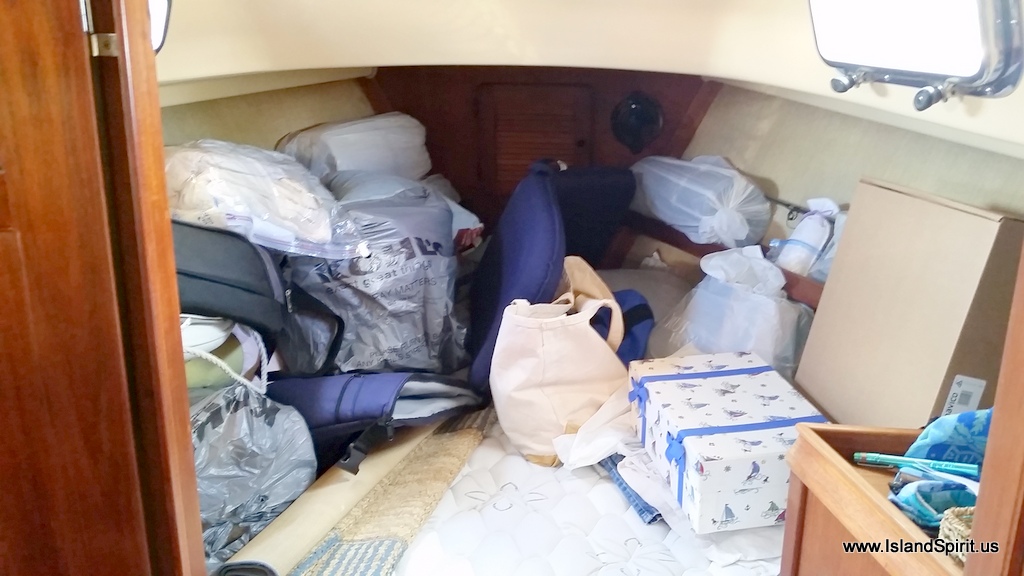
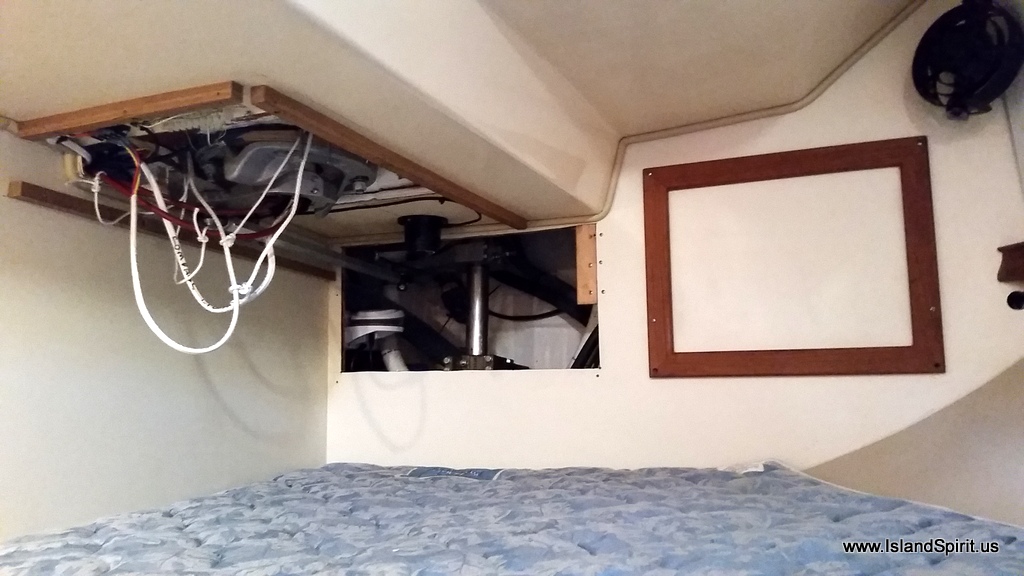
 |
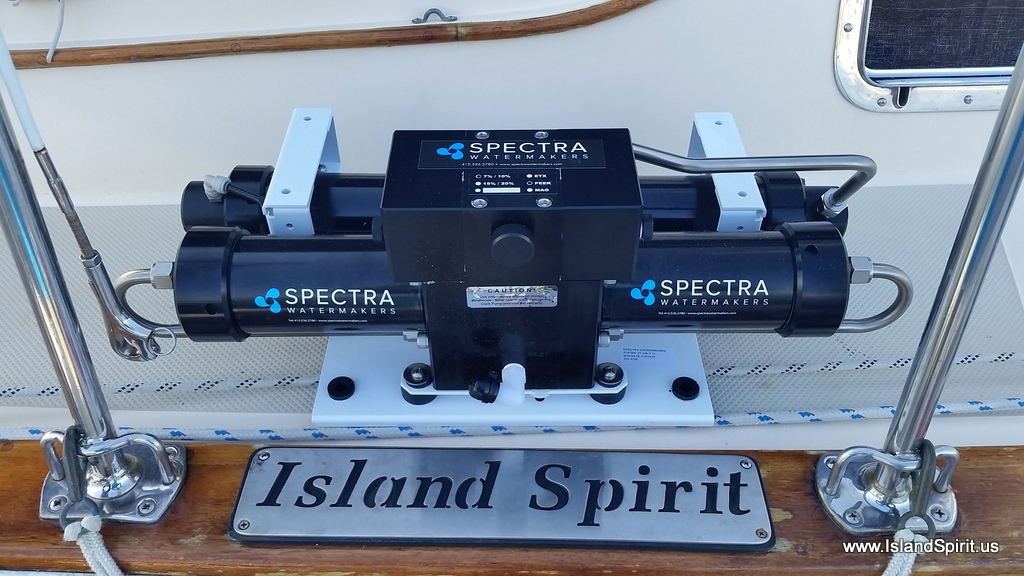
| This is up high, out of the way in what was all wasted space, We lost zero storage on this installation. It is the perfect place to mount this gear on an IP35. |
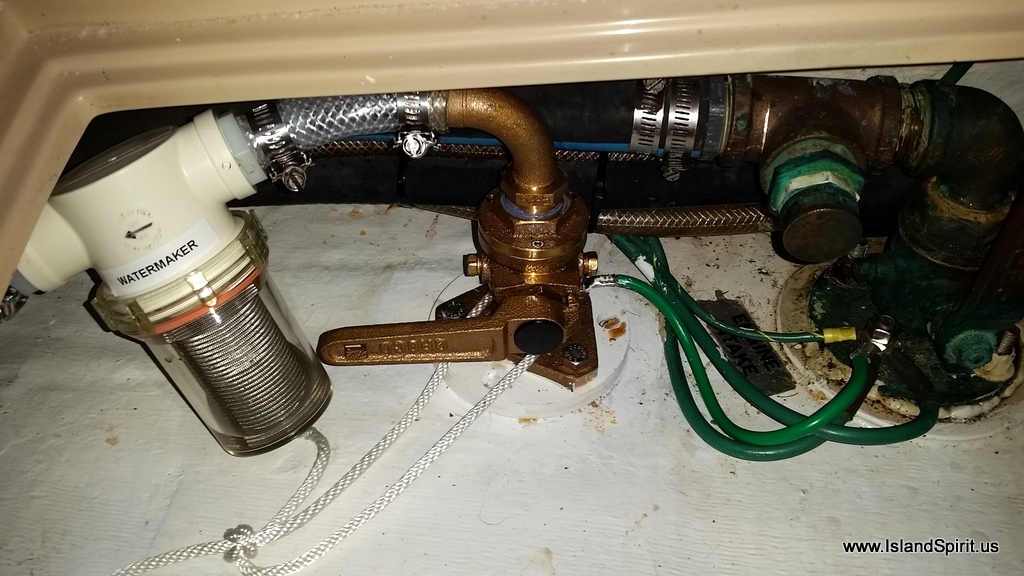 |
| We added a dedicated thru hull in the galley floor aft of the engine intake. |
 |
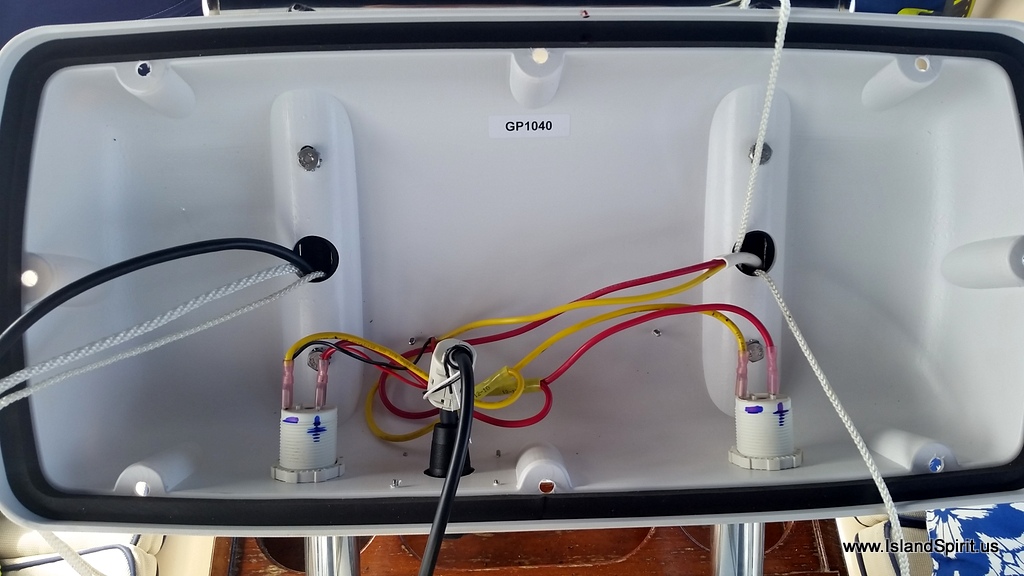
| Looking up under the cockpit seat ice box to see the drain on the left. We replaced this 1994 drain hose and added a tee for the brine. |
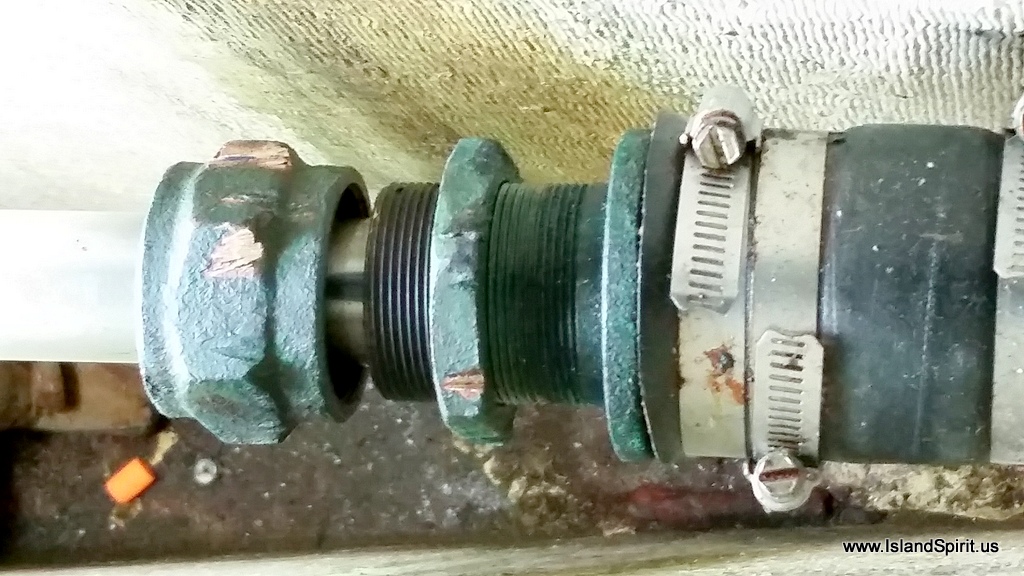
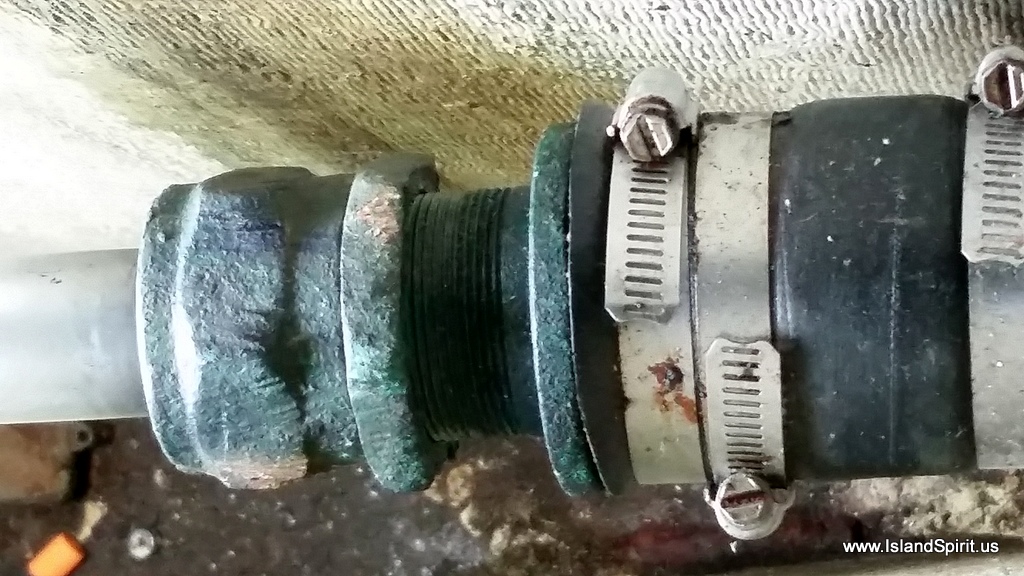
 |
| This is an overview photo, looking forward, with the ice box drain on top left. The existing thru hull is at the bottom righ,t with the new tee cut in. |
 |
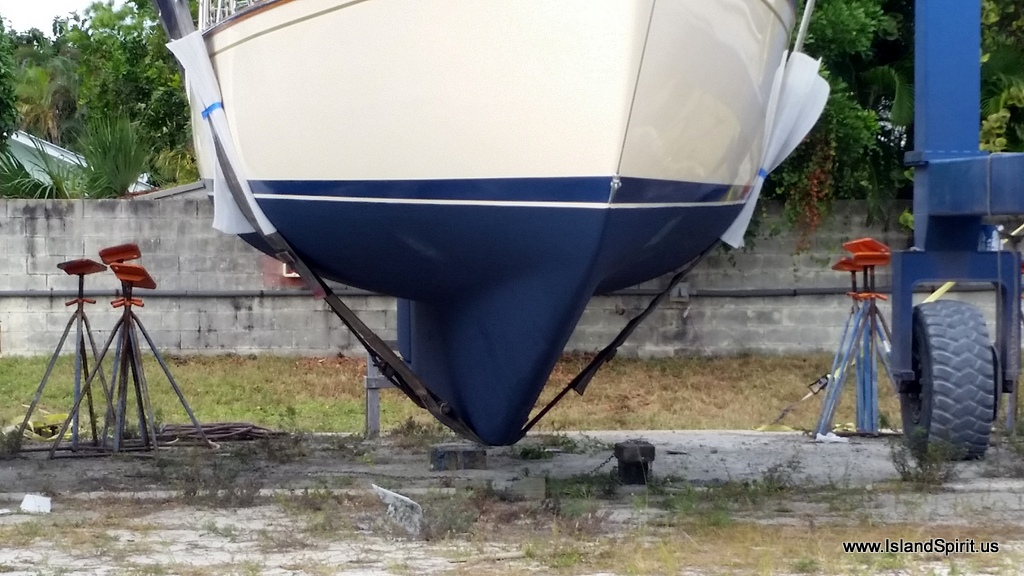
| The brine will flow directly down this hose and overboard via the original thru hull fitting, which is just above the waterline in the boot stripe. |
 |
| The sea water feed is on the bottom and the brine discharge is on the top of the Clark pump. Amazingly, this reverse osmosis pump has no power connected to it, working solely on hydraulics. |
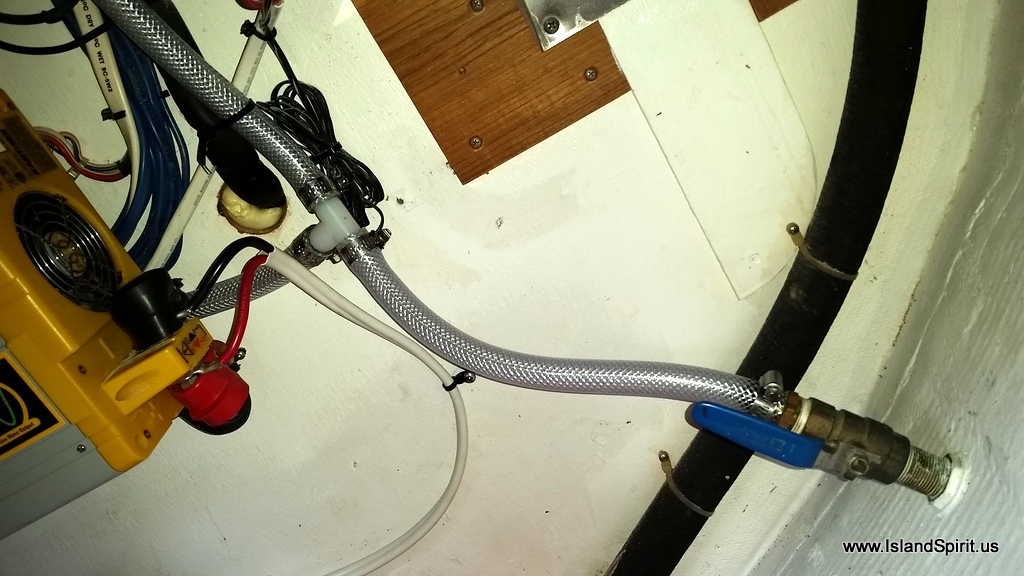
 |
| The sea water feed pump (black) on the left, plumbed to the 5 micron filter (also black) around the corner on the right. |
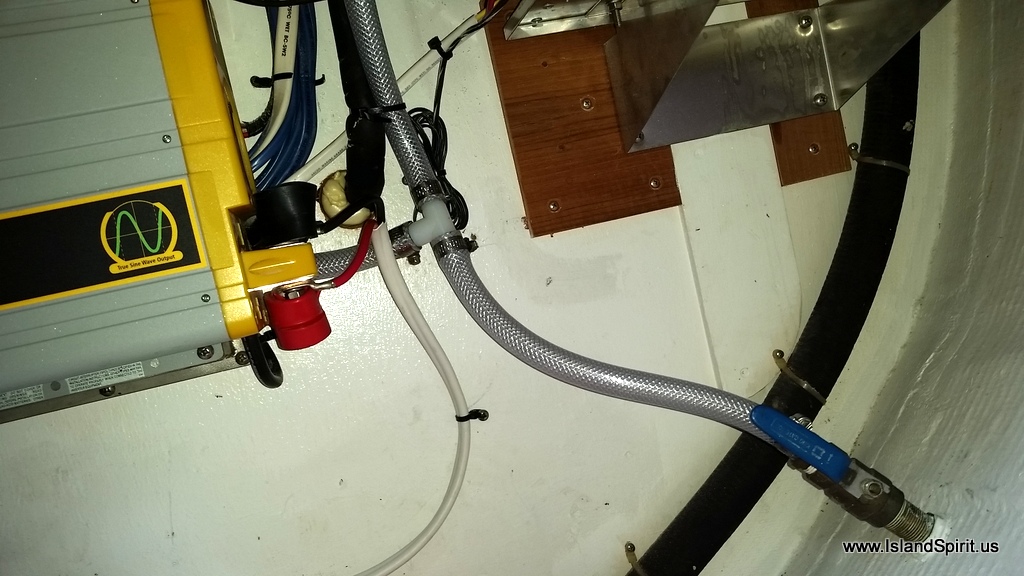
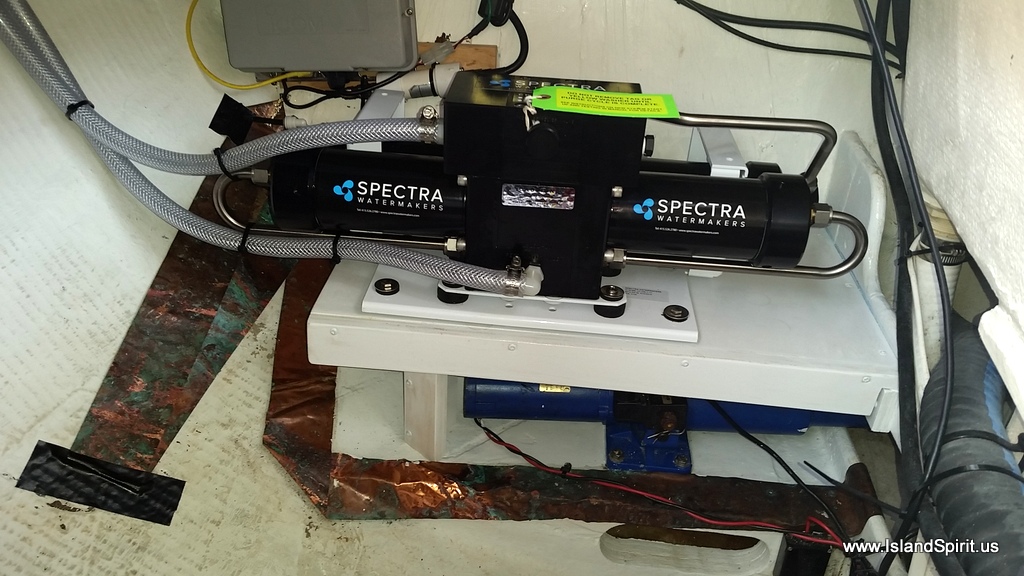 |
| There it is, the Spectra plumbed in and ready for product water hoses. Note: the copper strips are part of the grounding system for our Single Side Band Radio. |
 |
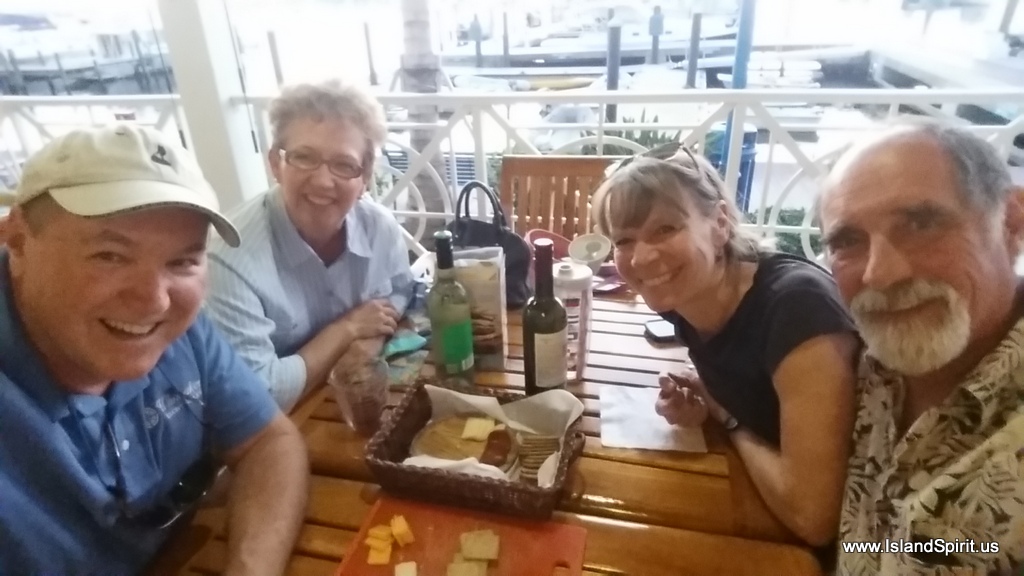
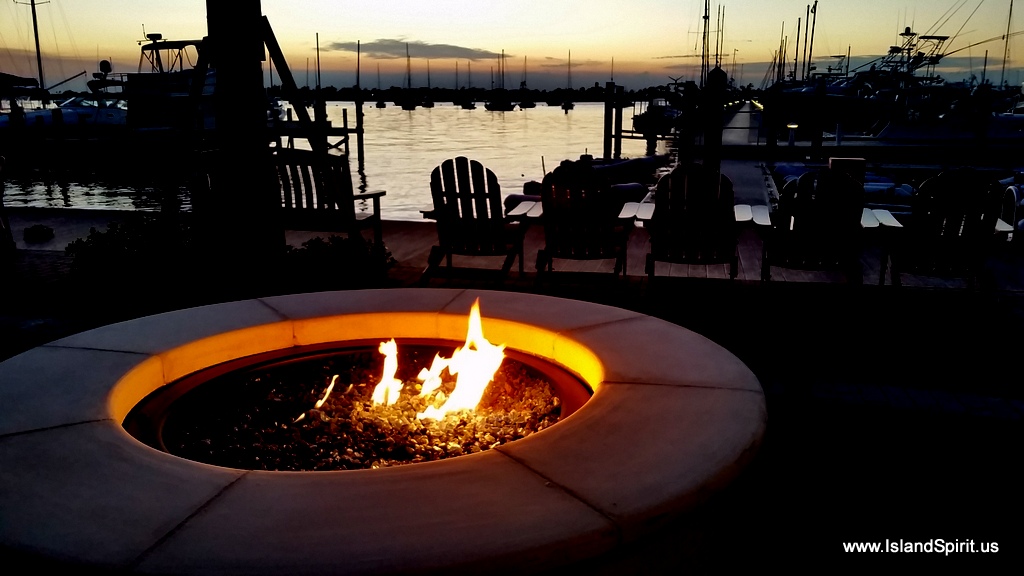
| Off to Flanigan’s for a fun happy hour with Bill and Trisha, IP40/Island Bound and their team, Sophia Jean and Byrd Ketcher. |
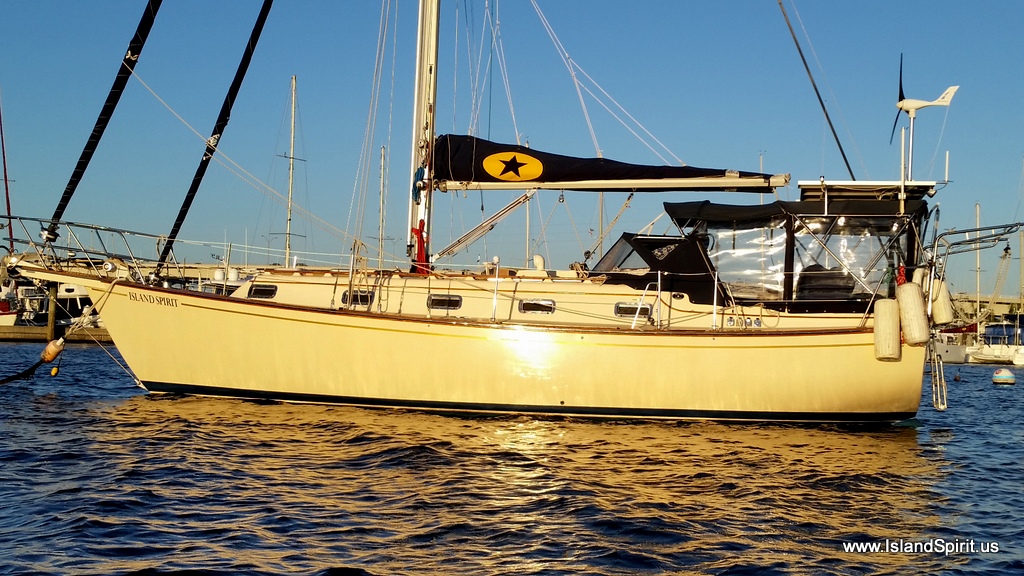
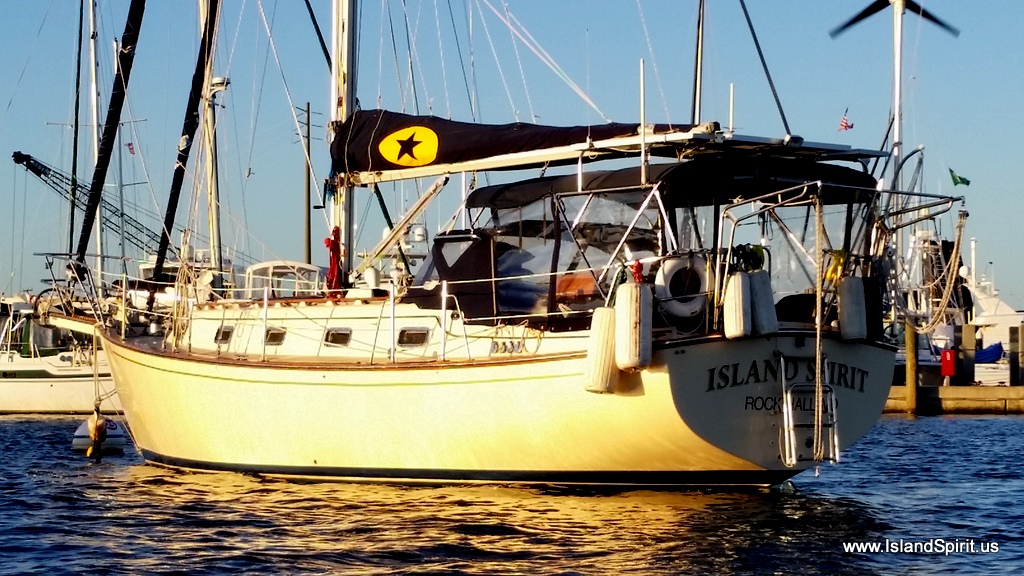
Again, this Spectra Watermaker install is still a difficulty level of a 2 out of 10. It is really simple. The hardest part is planning the placement of the parts and then making a secure platform to bolt the machine down. Though a pain in the neck, the plumbing is simple because it is just hose runs. We hope to have this finished in one or two more days. That is exciting considering we are doing this all on a mooring ball in Stuart Florida. It can be done….Thank you for following along. Happy Thanksgiving to all!


